Besotted by balayage and rate your DIY hair skills? Bookmark this page as we teach you how to DIY balayage at home. Continuing to be a key hair trend throughout the seasons, the free-hand technique of highlighting hair is beloved by the masses for the naturally subtle, sun-kissed finish it gives. Yes, we'd highly recommend you enlist a pro to give you that balayage hair look but if you're adamant that DIY is the only way forward then listen up.
While traditional highlights involve saturating sections of hair in dye before sandwiching them in foil - balayage involves lightly painting just the surface of the hair near the root, and moving down to the ends. The result? Natural-looking, gradual colour.
Read on to discover Jonathan Long's, Clairol's Colour Ambassador, pointers on how to achieve that balayage look at home.
READ MORE: Considering A Balayage Hair Update? Here's All The Inspo You Need
What kit do you need to try balayage at home?
'Along with ensuring you have the basic kit required for home hair colour (well-fitting gloves and a towel), it’s good to have a few hair grips to hand so that you can apply colour with more precision and target specific areas that you want to lighten. I’d also recommend a barrier cream such as Vaseline to apply on skin and avoid any staining.'
What type of at-home dye should you use for balayage at home?
'Achieving balayage comes down to expertly applying hair colour to the lengths of the hair and avoiding build up on the roots, so for the best results, use a crème formulation that allows precision application. It's less likely to run and streak as some gel colourants have a tendency of doing.'
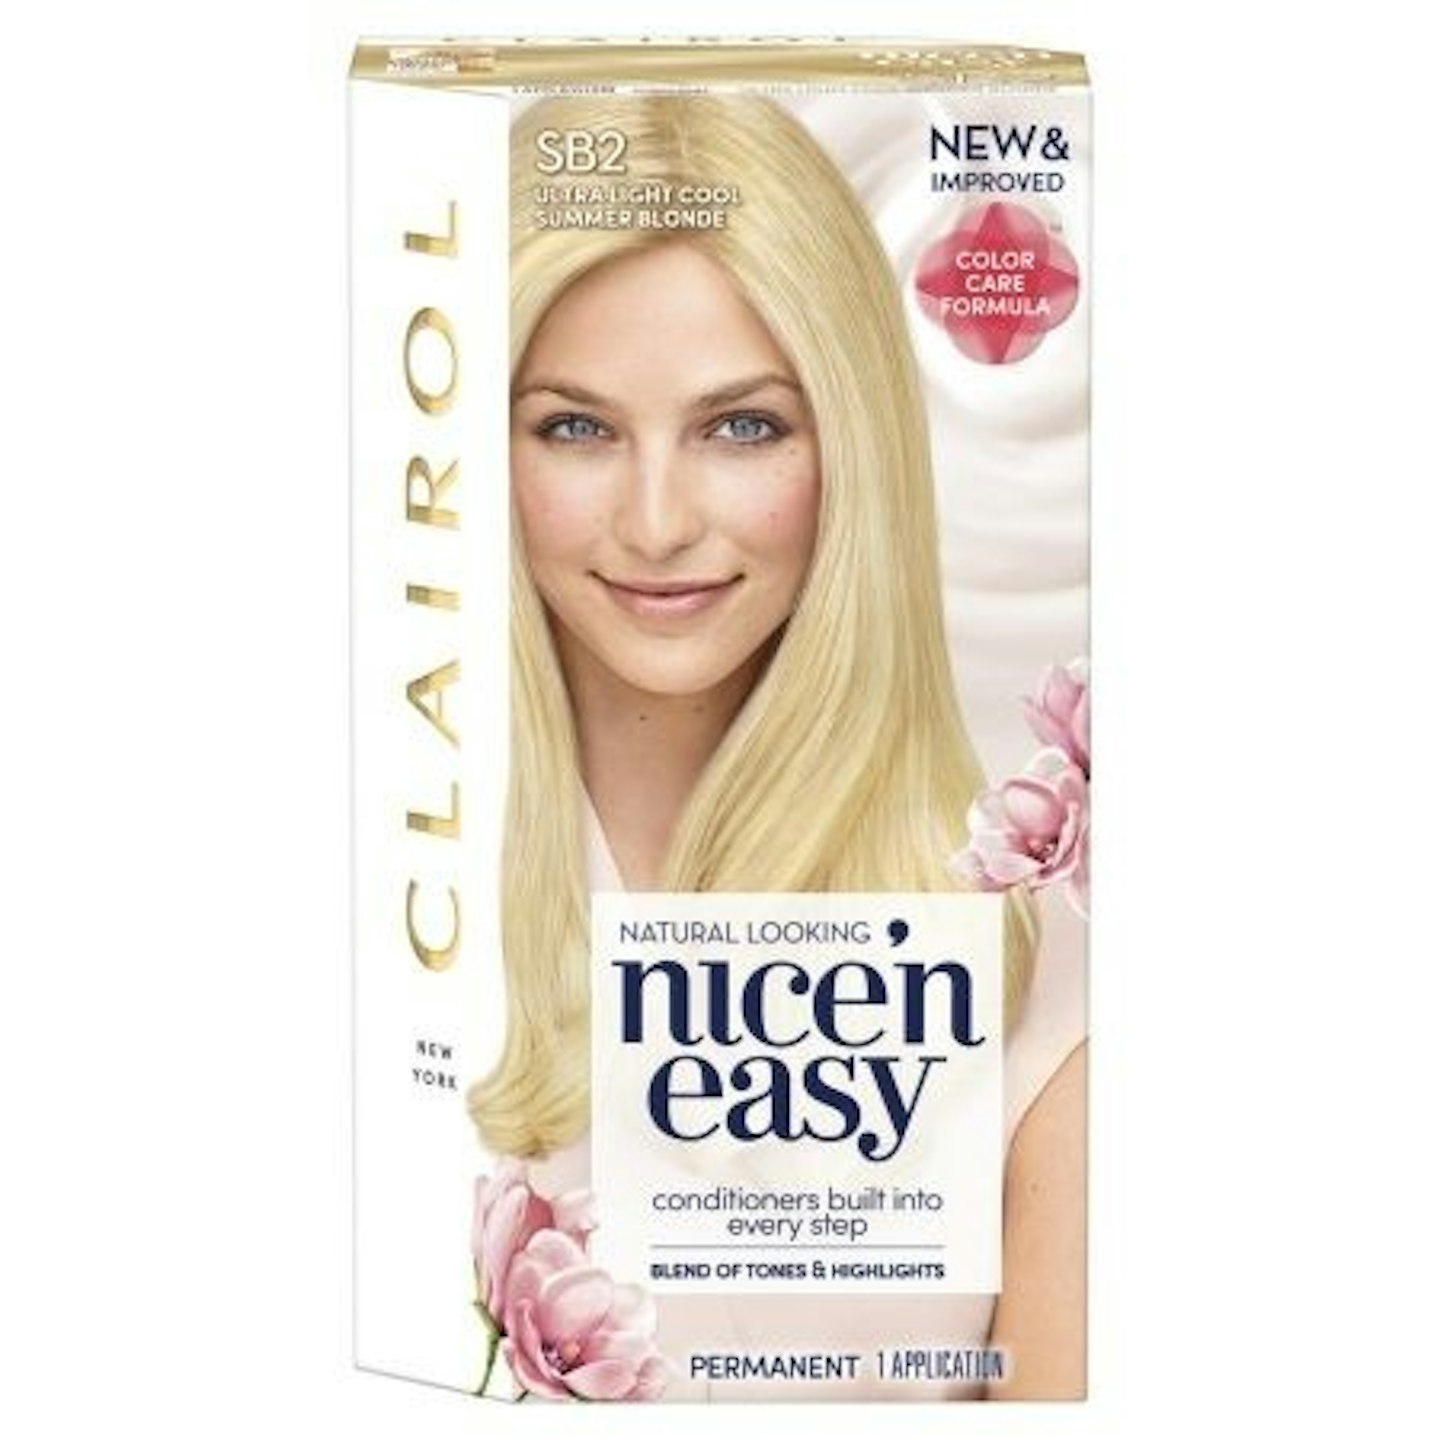
'To achieve that natural sun kissed look and lighten the hair effectively, I would recommend using the Nice’n Easy Permanent Hair Colour Crème, £6.79.'
Shop everything you need to achieve balayage highlights at home:
At Home Balayage Kit
 1 of 6
Clairol Nice n Easy Permanent Hair Dye, £6.49
Summary: Cream hair dye is better to use, rather than gel, for expert precision (as it's less likely to run). So this Nice n Easy hair dye is ideal for balayage. Product detail: Apply to your hair for your desired look, leaving on for 25-45 minutes for naturally looking locks.
 2 of 6
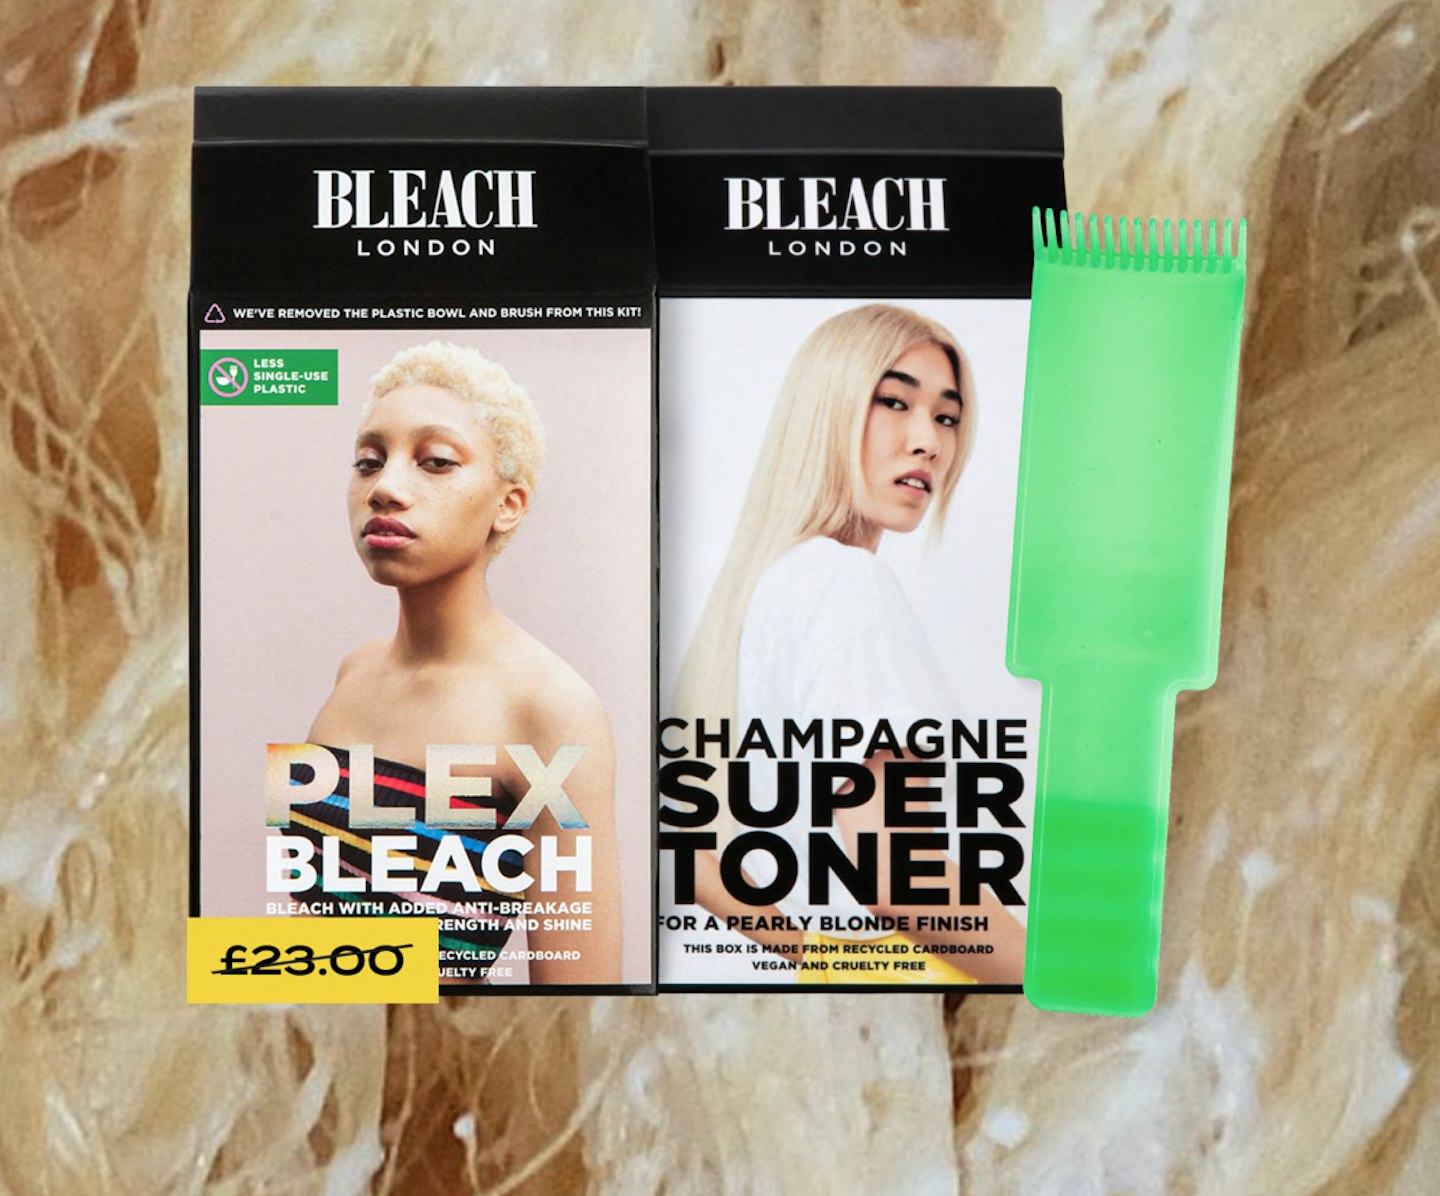
Balayage Highlights Set, £20
Summary: This set comes with the Plex Bleach kit which lightens your hair, followed by the Champagne Super Toner kit from reducing the brassy tones, and lastly it has a Balayage Board to help when applying the dye. Product detail: Follow the two step guide to give yourself a DIY balayage using the balayage board. From lightening your hair to toning your hair.
 3 of 6
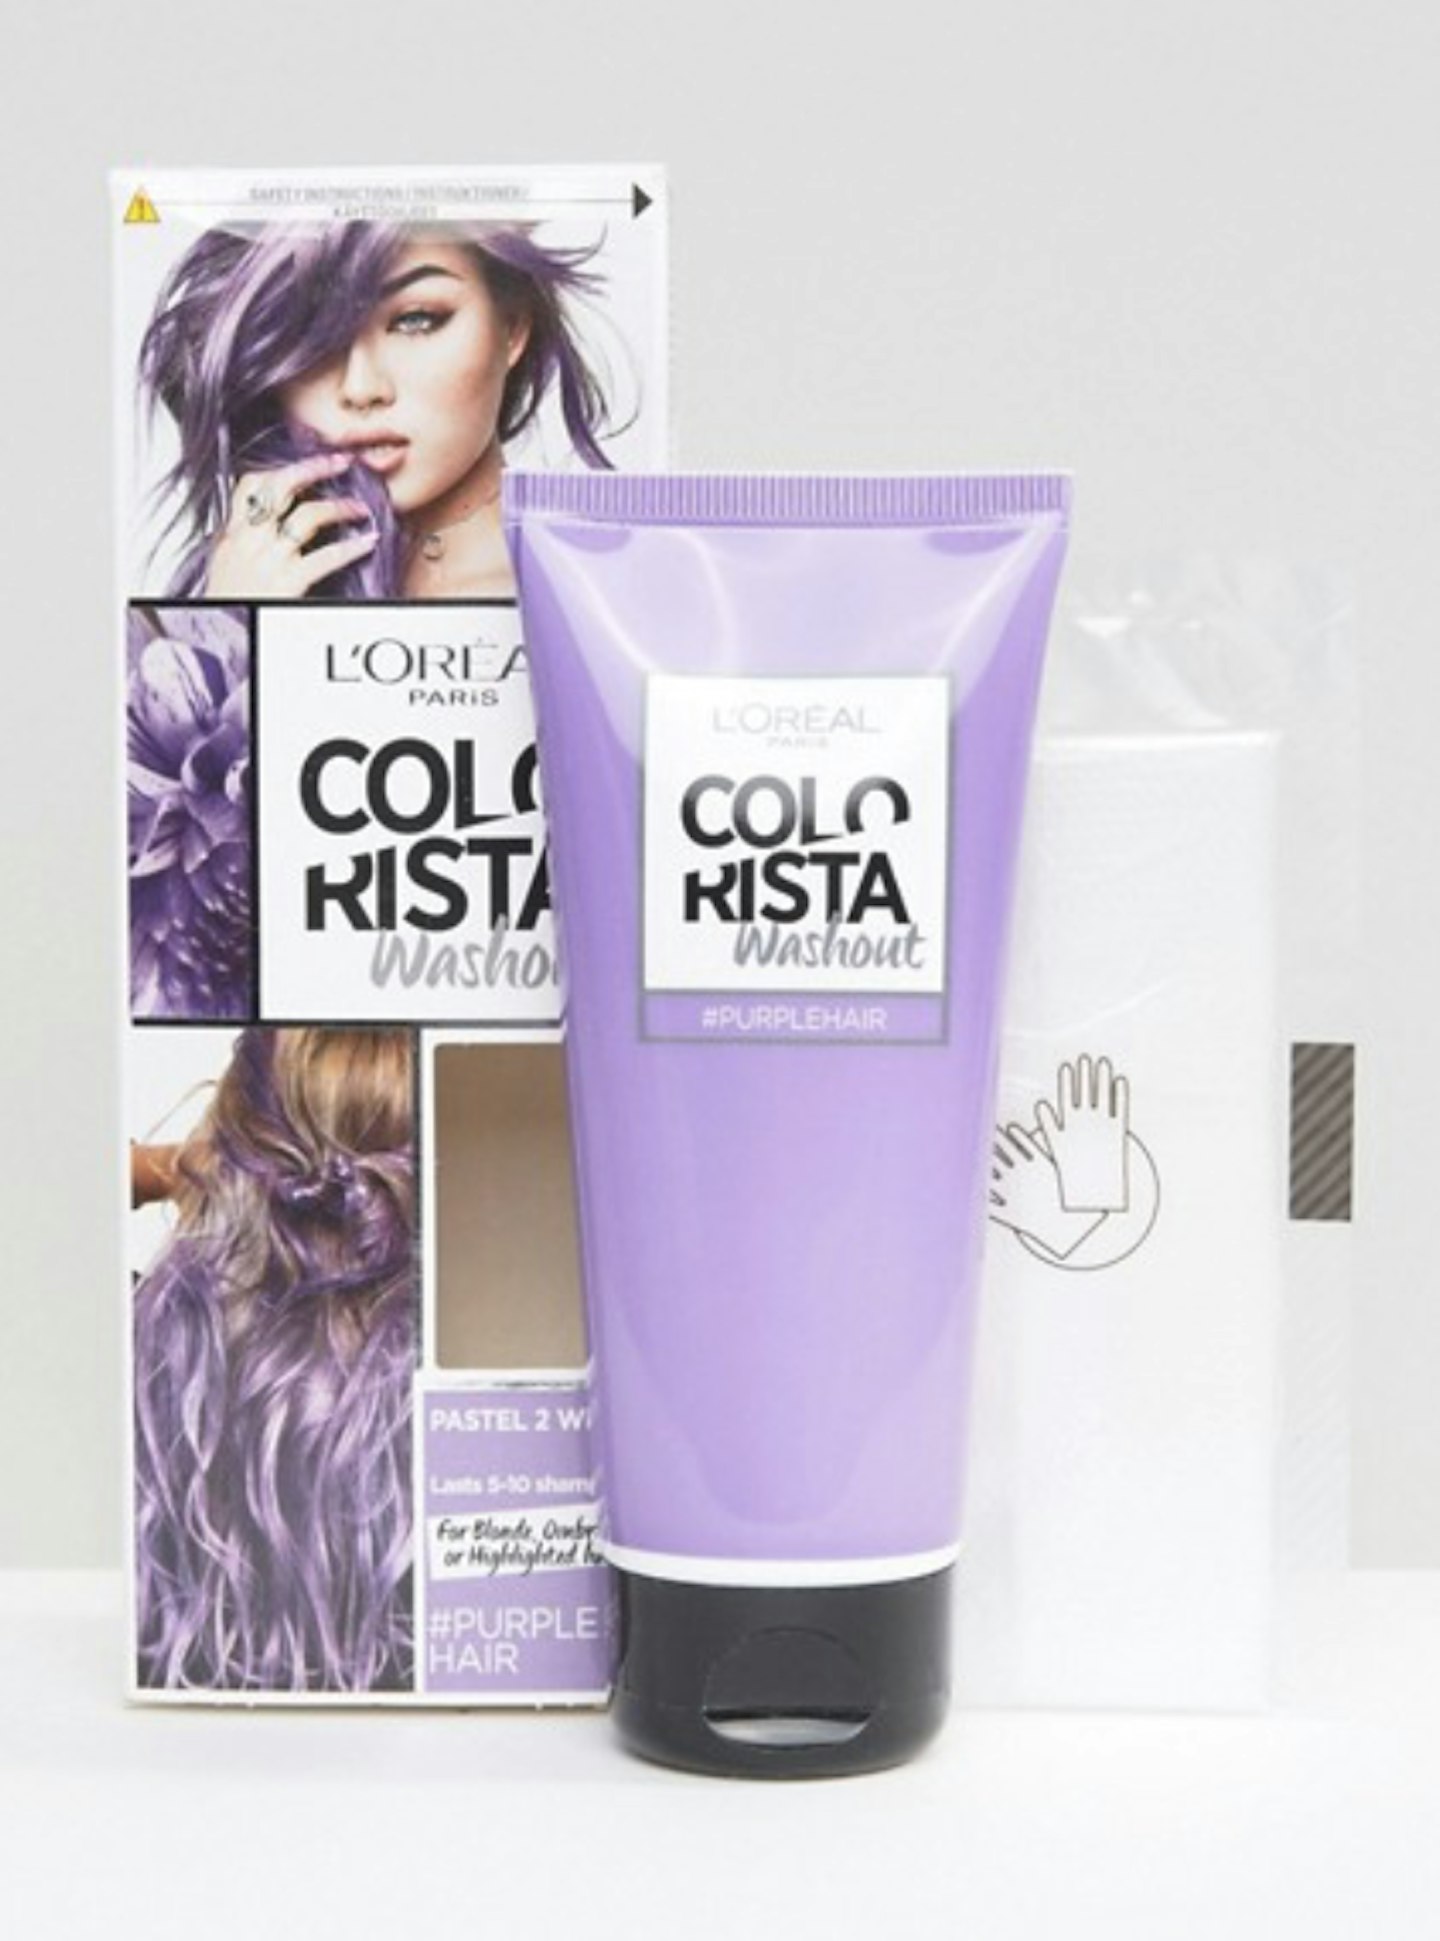
L'Oreal Paris Colorista Wash Out Hair Colour, £6.99
Summary: And if you're wanting to try out pastel colours, these L'Oreal Paris Colorista can be used to experiment and it will gradually wash-out.Product detail: Various pastel colours are available which will cling to the lighter hair. Simply apply in the same way you would with permanent hair dye, and the colour will start to fade over two weeks.
 4 of 6
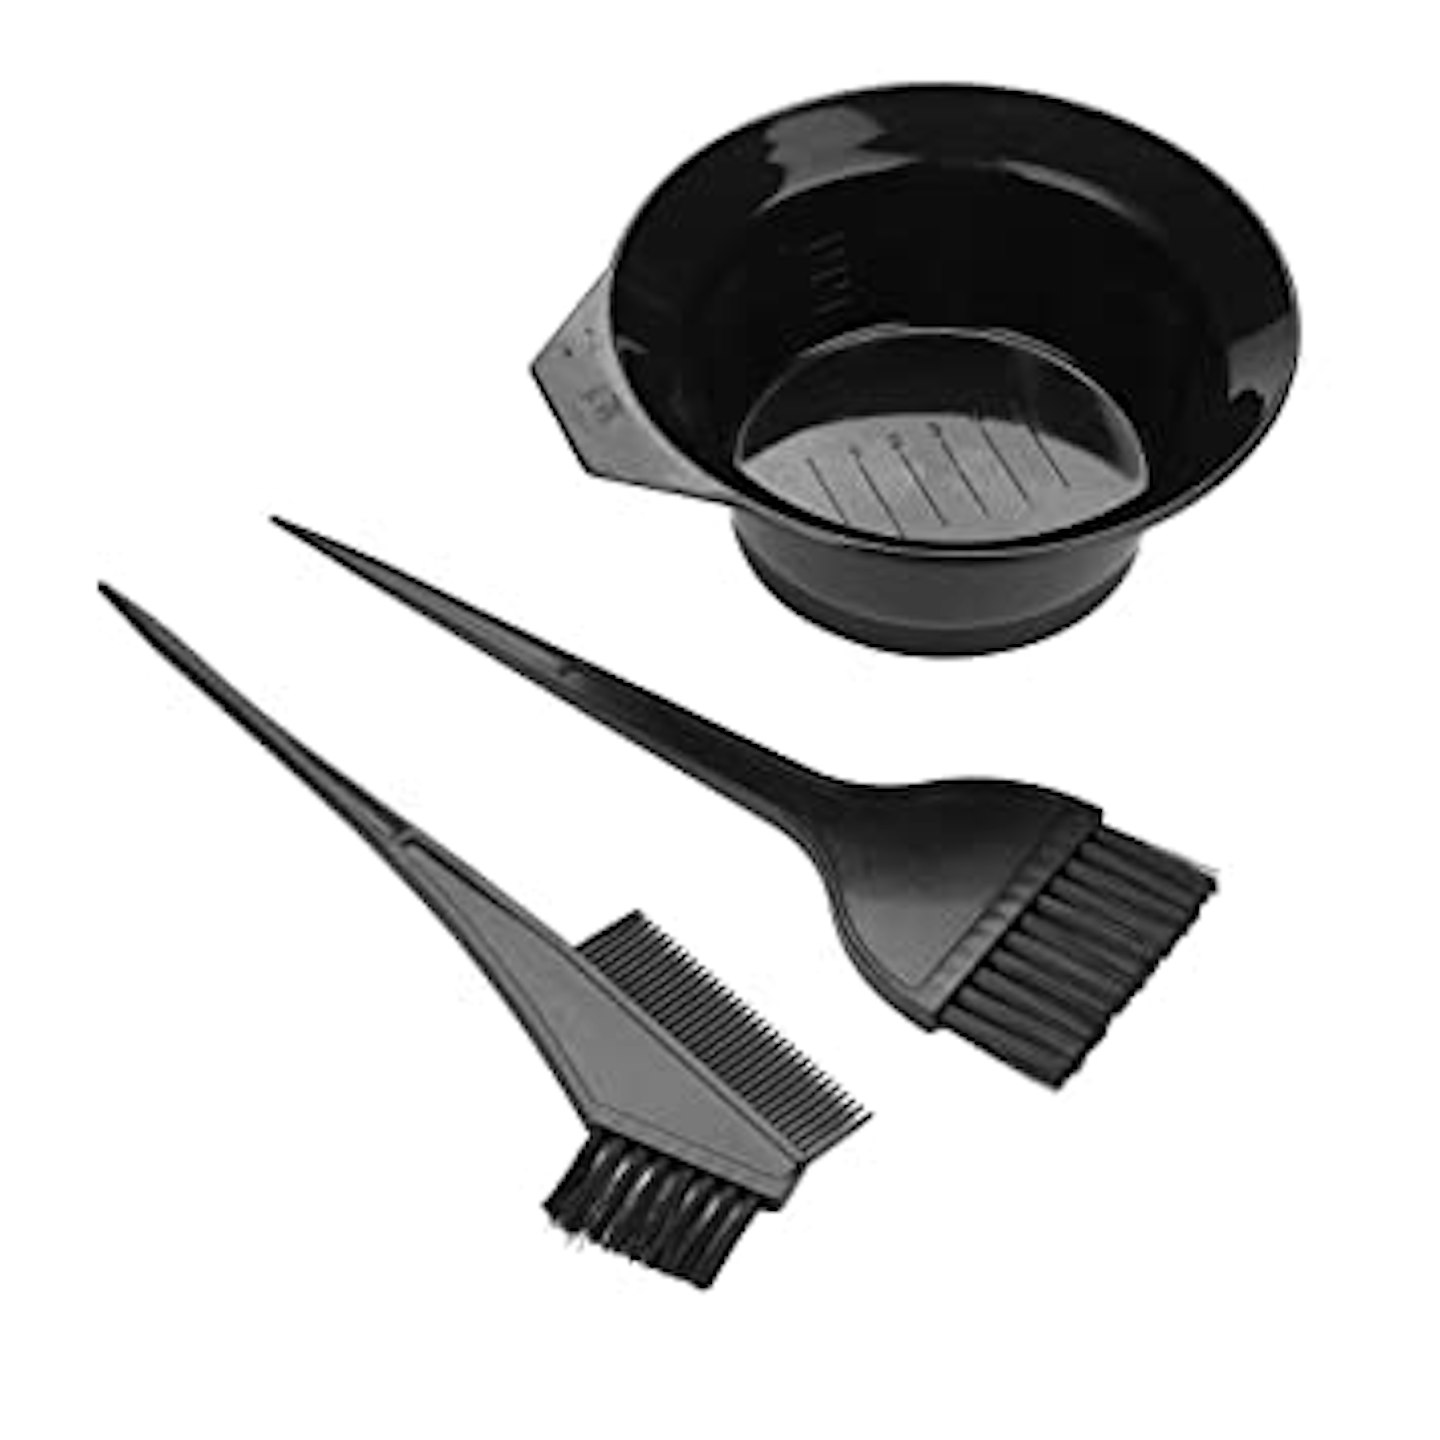
Berri Hair Colouring Brush and Bowl Set, £3.15
Everything you need for balayage, make sure you're prepared with a brush and mixing bowl. This set also includes a brush/comb combination which is perfect for getting your hair to look as natural as possible.

 5 of 6
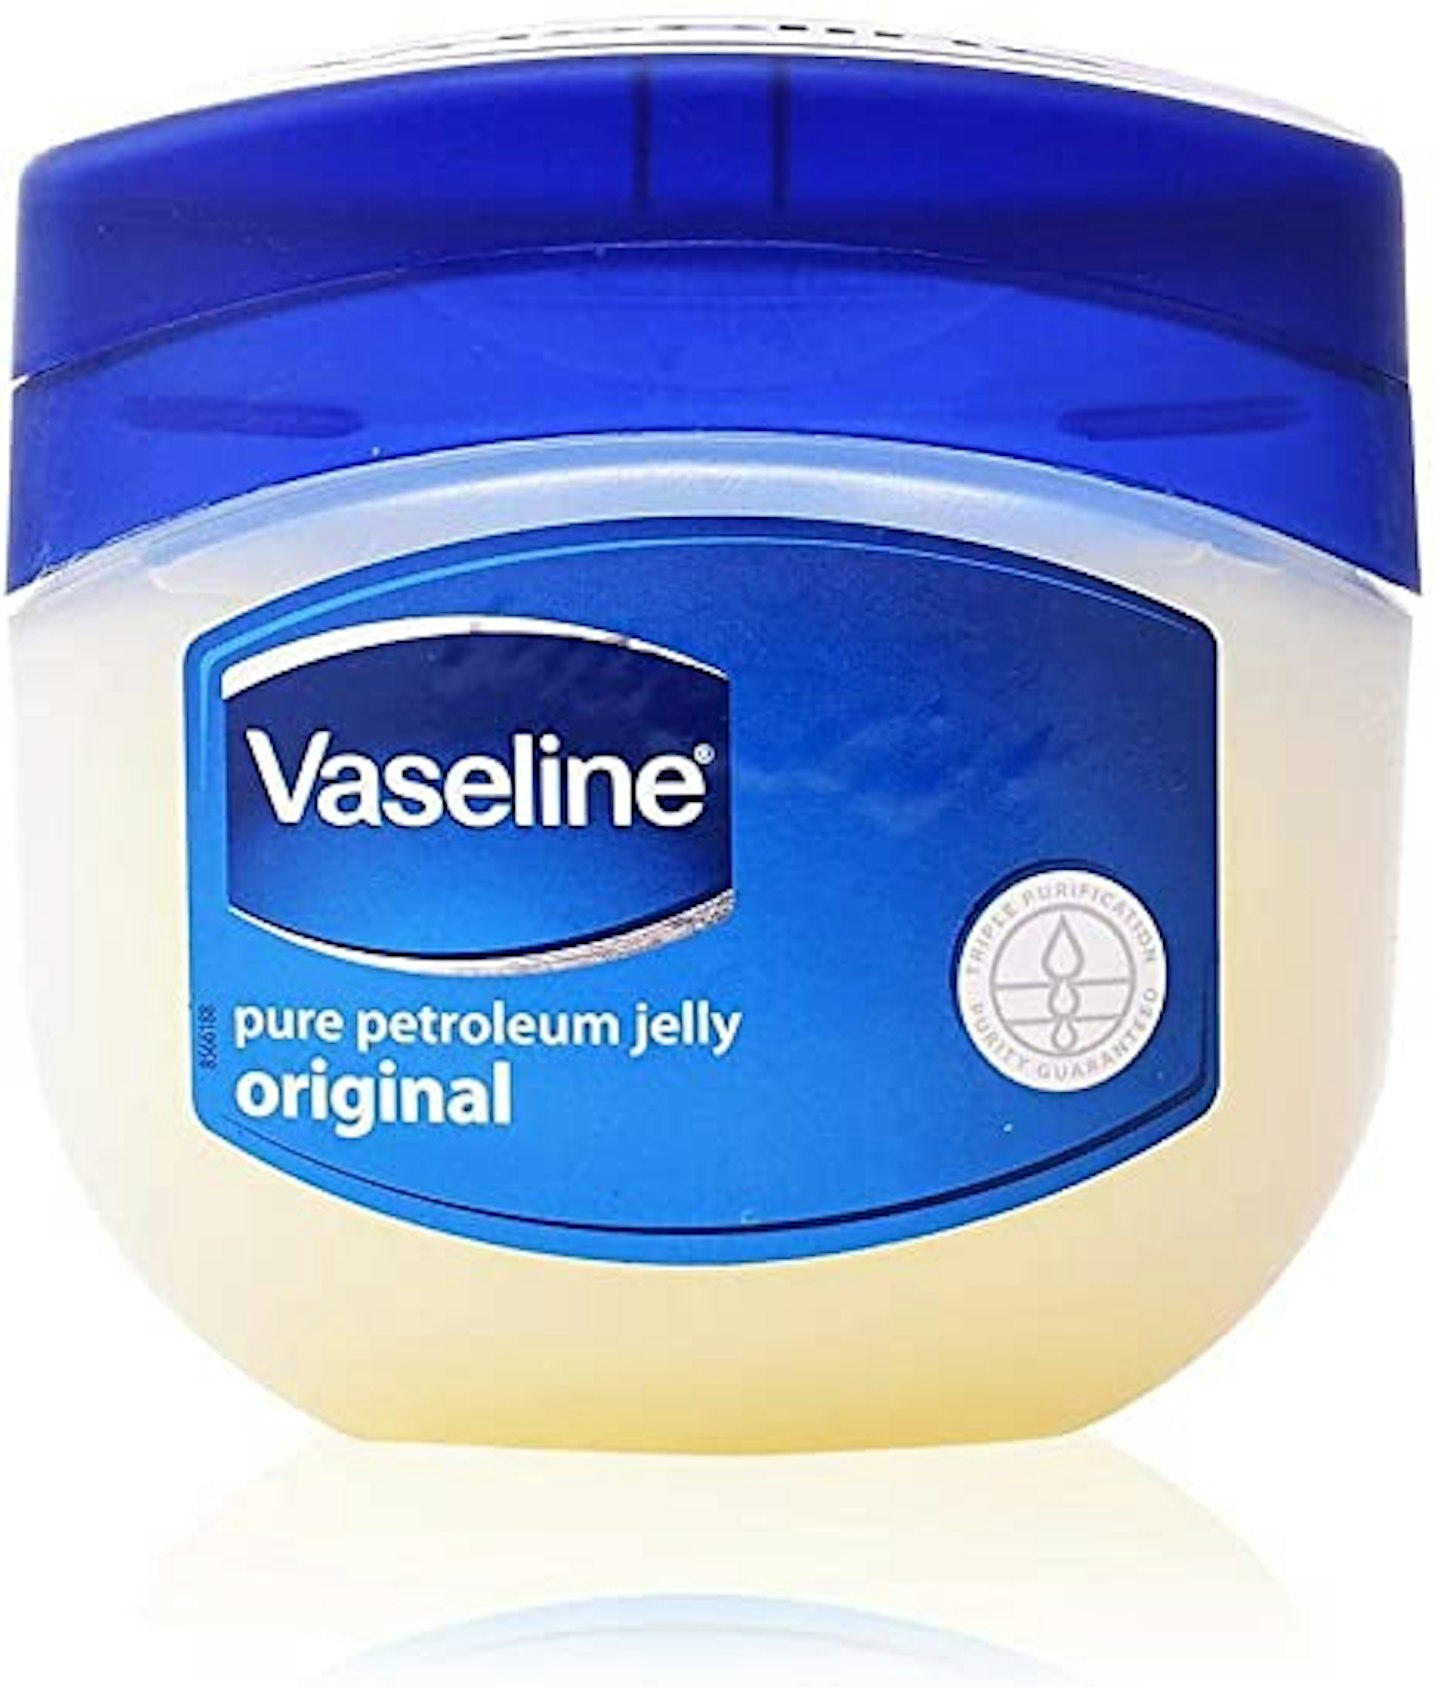
Vaseline Original Petroleum Jelly, £2.99
Apply vaseline or another barrier cream around the hair line to prevent hair dye from staining skin.
 6 of 6
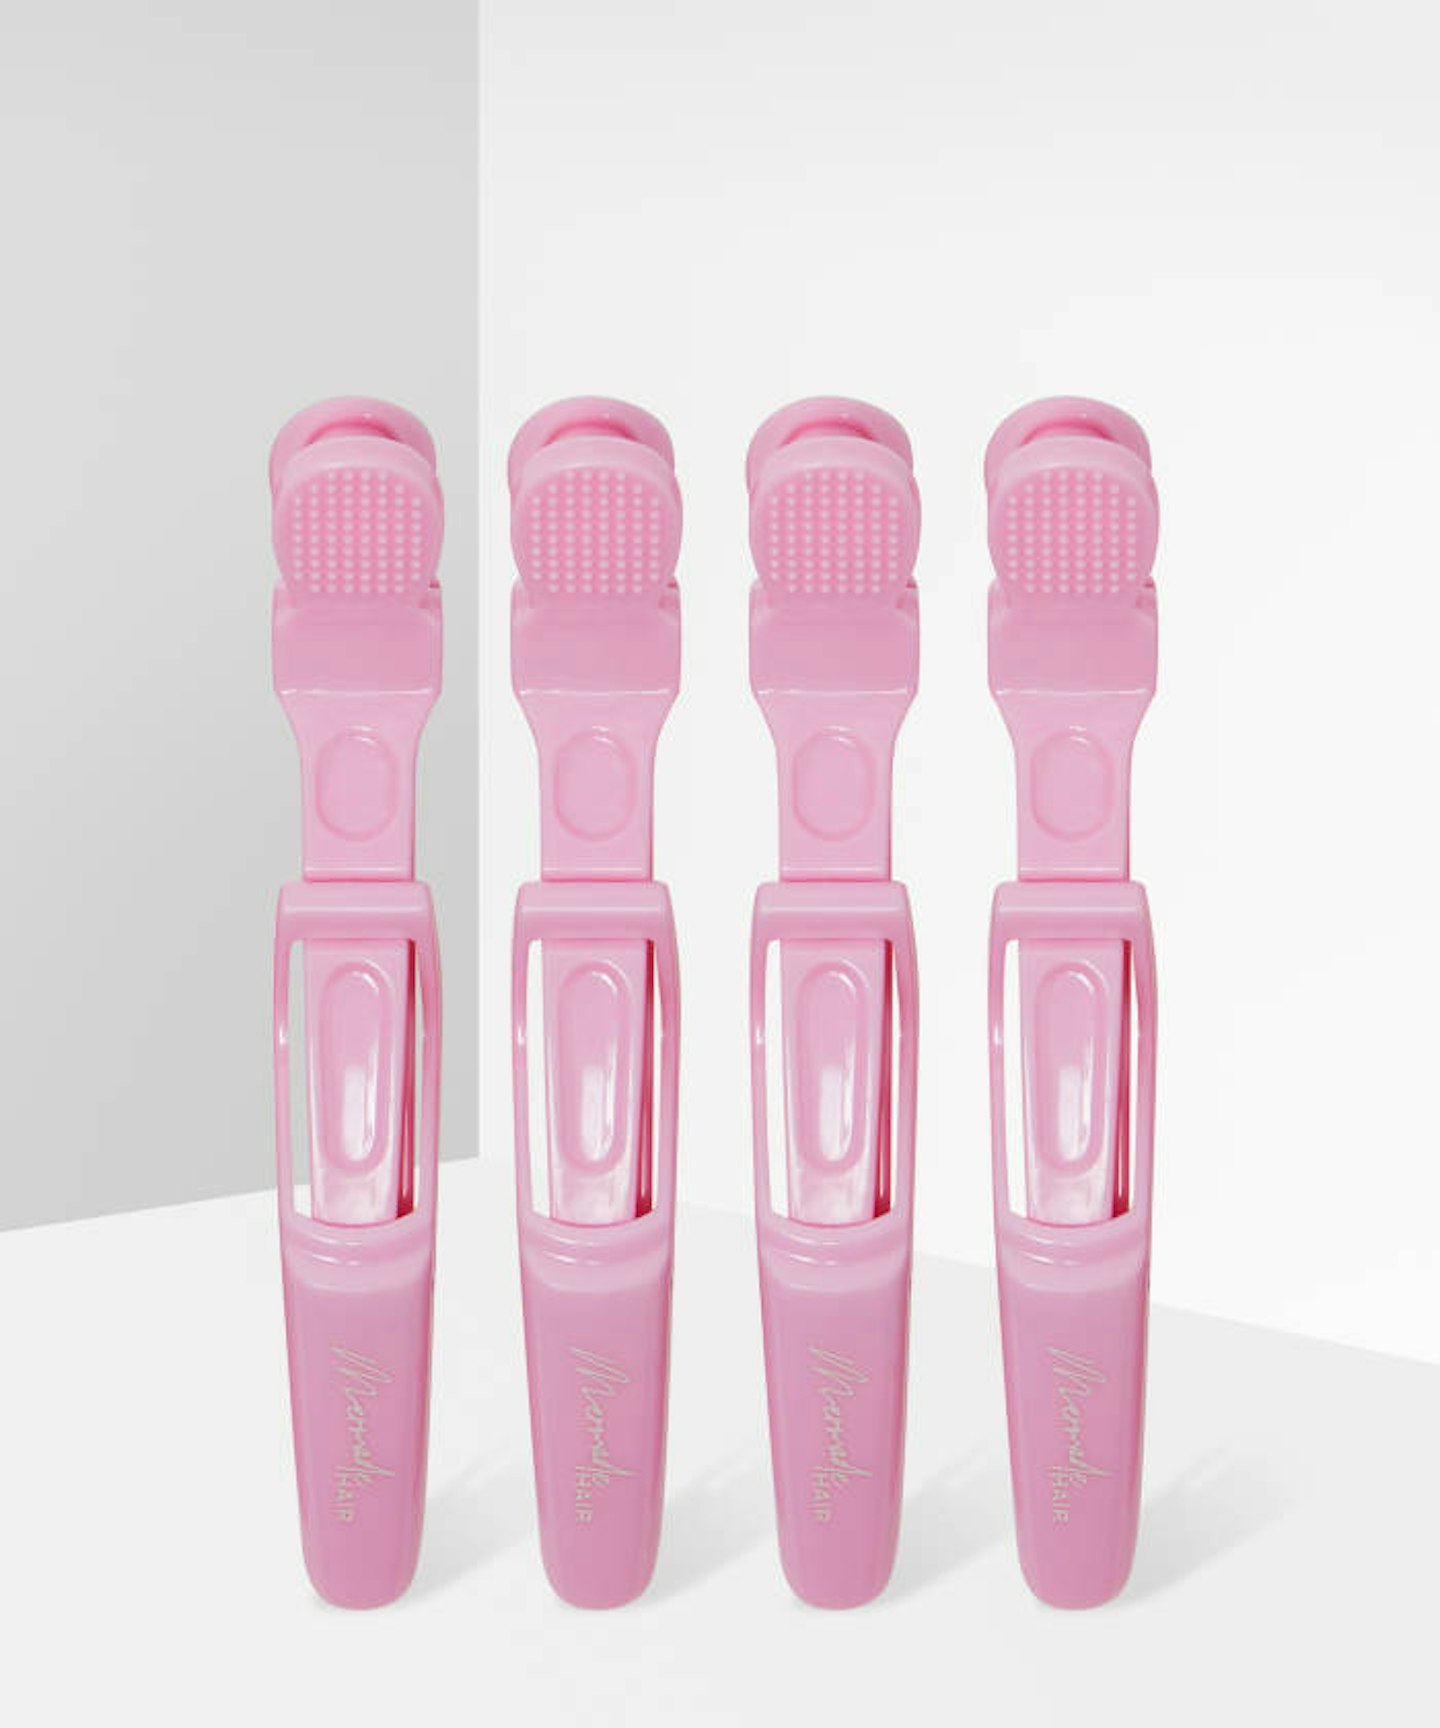
Mermade Grip Clips, £5
The grip clips are ideal for keeping your hair sectioned whilst applying the dye, to give you the best results.
8 steps to achieving that balayage hair look at home:
1 - Always perform an allergy test: It is essential to carry out a test 48 hours beforehand. Even if you've used a product before or regularly colour your hair, you still need to perform an allergy alert test each and every time as you can develop a sensitivity to the ingredients at any time.Use the 'hot cross bun' technique: To section hair, use the 'hot cross bun' technique; divide your hair into four sections by running a comb down the centre of your head and then across from ear to ear. You can then easily work with one section at a time.Don't forget your vaseline: Apply a barrier cream such as Vaseline to the hair line to avoid staining the skin.
2- Now you begin to dye: To achieve the balayage effect, only apply the colourant to the lengths of the hair and in the areas you specifically want to lighten, avoiding any exposure to the roots.
3 - Work on small sections at a time: Use hair grips to secure the hair whilst you work through each small section.
4 - Use your fingertips: Do not rub into scalp or roots. Apply the colour using your fingers to achieve the most natural effect, blending the colour through using soft downward strokes.
5 - Keep going: Work through the hair strands in each section to ensure full saturation.
6 - Rinse and treat: Follow the instructions on your chosen hair colourant and leave on to develop for the instructed time before rinsing off and following with a hydrating hair treatment.
What balayage effect should we be going for?
'As with bronzer on the skin, apply the colorant to the areas of the hair that would naturally change after exposure to the sun; the front, side and mid-lengths as opposed to the roots which generally tend to be more resilient to exposure from the sun.'
How long does balayage take to do at home?
'Depending on the desired effect you have in mind, this could take up to an hour, as sectioning off the hair effectively can take a little time if you do it right. The better you section off the hair, the more efficient use you can make of the time you spend on achieving your DIY balayage. As a rule, I always recommend doing a strand test beforehand to determine the exact time frame you should leave the colour on for, to achieve the desired colour change.'
Any other balayage tips?
'Only go up to 3 shades lighter to your existing tone, to guarantee the most natural looking effect.'
If you need some more pointers, check out the video below...
READ MORE: Pink Hair Is Back And These Celebs Are Already Giving It A Go